


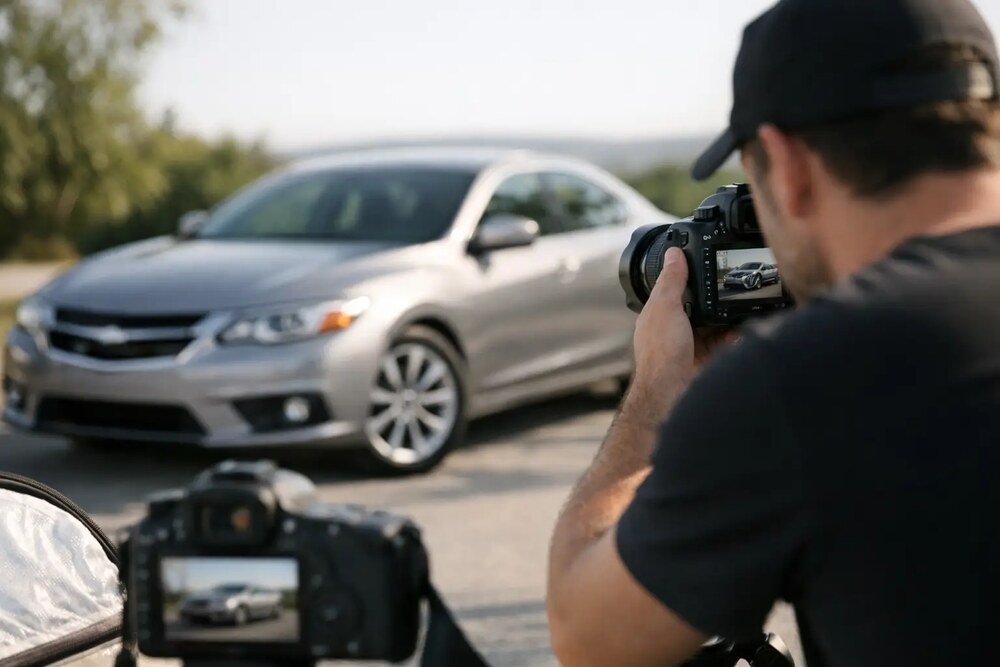
A buyer can decide whether to enquire in seconds. The way you photograph a car for sale tells them whether the vehicle has been cared for, whether the seller is transparent, and whether it is worth inspecting. Clear photos will not fix a mechanical issue or turn an unrealistic price into a good deal, but they can make sure the right buyers see the value in your car.
For most private sellers, a mobile, good light and 20 focused minutes are enough. The aim is not to make the vehicle look like a studio advert. It is to show it accurately, attractively and without leaving buyers to guess about its condition.
Prepare the car before taking photos
Start with the basics: wash the exterior, clean the wheels, remove rubbish from the cabin and clear personal items from the boot, door pockets and cup holders. Wipe dust from the dashboard and screens, shake out the floor mats, and clean the glass inside and out. Small details matter because buyers notice what has been overlooked.
You do not need to spend money on professional detailing for every used car. A clean, honest presentation is usually more persuasive than heavy products, shiny tyre dressing or filters that make the paint colour look different. If the vehicle has been sitting for a while, check for leaves around the windscreen, dust on the bonnet, and clutter in the cargo area before you start.
Remove anything that could create privacy or security concerns. Take down house-number stickers, hide registration papers and avoid photographing documents that show your address or VIN in full. It is also sensible to remove personalised number plates in photo editing if you prefer not to display them publicly, although some buyers appreciate seeing the registration details match the listing.
Choose light and a location that show the car honestly
The best time to take photos is usually early morning or late afternoon, when the sun is lower and softer. Bright midday sun can create harsh shadows, glare on the windscreen and dark areas inside the cabin. An overcast day can work well too, particularly for darker paint colours, because cloud cover reduces reflections.
Park somewhere clean, quiet and level. A driveway, empty car park or open area with an uncluttered background is ideal. Keep enough space around the vehicle so you can step back and capture the full shape. Avoid busy roads, fuel bowsers, overflowing bins, washing lines and other cars crowding the frame.
Be mindful of reflections. Dark paint, polished panels and windows can easily show you holding your mobile, along with nearby houses or signage. Move slightly, crouch lower, or change your angle until the reflection is less distracting. You do not need every panel to look perfect, but photos should make it easy to assess the car rather than the surroundings.
Use your mobile camera well
A recent mobile camera is more than capable. Clean the lens first, use the rear camera rather than the selfie camera, and take photos in landscape orientation unless your listing format crops them poorly. Tap the car on screen to focus, then adjust exposure if white paint looks washed out or a dark interior loses all detail.
Avoid ultra-wide shots for the main exterior images. They can make the front end look oversized and distort straight body lines. Stand farther back and use a standard lens where possible. Take a few extra shots from each angle, then choose the clearest image later rather than rushing the process.
The photos every used-car listing should include
A complete gallery reduces repetitive questions and helps genuine buyers decide whether to make contact. Photograph the vehicle from eye level where possible, then add close-ups only when they reveal useful information.
Include these key views in your listing:
- Front three-quarter view, rear three-quarter view, full front and full rear
- Both sides of the car, including the wheels and tyres
- Driver's area, dashboard with the ignition on, front seats and rear seats
- Centre console, infotainment screen, climate controls and key features
- Boot or cargo area, engine bay and any tow bar, roof racks or accessories
- Odometer, service books where appropriate, spare wheel area and charging cable for an EV
For utes and vans, photograph the tray, tub, canopy, load area, tie-down points and any trade accessories. Family SUV buyers will want to see the third row if fitted, child-seat anchor points, rear air vents and boot space with the seats in their normal position. For an electric vehicle, show the charge port, cables, battery or range display if available, and any included home-charging equipment.
The order matters too. Lead with your strongest clean exterior image, followed by enough views for someone to understand the car at a glance. Keep detailed interior, feature and condition photos afterwards. A buyer should not have to scroll through six photos of the same wheel before seeing the cabin.
Photograph condition, not just the highlights
Transparent condition photos can save time and build trust. If there is a scratch, kerb rash, cracked trim piece, paint fade or worn seat bolster, photograph it in clear light. Pair the image with a straightforward description of where it is and how noticeable it is.
There is a balance here. You do not need to turn a minor stone chip into the feature image of the listing, and very close photos can make ordinary wear appear worse than it is. Show the issue from a normal viewing distance first, then include one closer image if it helps buyers assess it. This approach demonstrates that you are not hiding anything while keeping the listing fair.
Do not use filters, excessive portrait blur, artificial sky replacements or editing that changes the paint colour. Buyers expect a vehicle to look broadly like its photos when they inspect it. If the images set an expectation you cannot meet in person, you will attract fewer serious enquiries and more wasted inspections.
Should you include photos of service history?
Service history can be a valuable selling point, especially for a higher-kilometre vehicle or a model known for expensive maintenance. A photo of stamped service-book pages or invoices can support your description, but cover personal details, addresses, phone numbers and account information first.
If you have records from a mechanic, present them accurately. State what work has been completed without suggesting it is a warranty or a guarantee of future reliability. Buyers can also use a PPSR history report and arrange their own inspection to make an informed decision.
Match the photos to the details in your listing
Photos work best when they support clear vehicle information. Make sure the year, make, model, variant, kilometres, transmission, fuel type, location and asking price are correct. If your Mazda CX-5 has leather seats, a sunroof and two keys, show them. If it has cloth trim, standard wheels or only one key, be equally clear.
Use photos to substantiate features that influence a buyer's comparison. This could include a reversing camera, Apple CarPlay, adaptive cruise control, a tow bar, all-terrain tyres or a factory seven-seat layout. A visible feature is more convincing than a vague line saying the car is “fully loaded”.
Before publishing, compare the listing against the vehicle itself. Check the odometer photo matches the stated kilometres, check that accessories shown are included in the sale, and remove old photos if the car has changed since they were taken. Accuracy protects your time as much as the buyer's.
When professional photography may be worthwhile
Professional photography can be worth considering for prestige vehicles, rare enthusiast cars, high-value 4X4s or dealer stock where presentation affects perceived value. A professional can manage difficult reflections, use consistent angles and produce polished images efficiently.
For a typical commuter hatchback, sedan or family SUV, however, good phone photography is usually enough. Buyers are more interested in honest condition, service records, value and a prompt response to their questions than cinematic lighting. Spend your effort where it helps the sale most: cleaning, accurate details, realistic pricing and being available for inspections.
Check your gallery before buyers see it
Review every image on a larger screen if you can. Delete blurred photos, duplicates and images where the vehicle is partly cut off. Look for accidental reflections, visible personal information and number plates from other vehicles in the background.
Then ask one simple question: if you were comparing this car with three similar listings, would these photos answer the questions you would have before contacting the seller? A complete gallery makes the search-and-compare stage easier and gives buyers confidence to take the next step.
When you list on Carface, pair those honest photos with detailed specifications, a clear description and the vehicle's value signals. The result is not just a better-looking ad. It is a more transparent starting point for a serious conversation, a proper inspection and a sale both parties can feel comfortable about.
